Bring your design to life with a stunning envelope animation! In this step-by-step tutorial, I’ll guide you through creating a digital wedding invitation envelope in Adobe After Effects—perfect for motion graphics intros, explainer videos, UI/UX mockups, and more.
Why Use Envelope Animations?
Envelope animations add a professional, playful touch to your digital projects. They can be used for:
- UI/UX mockups (e.g., email or notification scenes)
- Explainer videos or intros
- Digital invitations and promos
Getting Started
What you’ll need:
- Adobe After Effects (any recent version)
- Basic familiarity with shape layers
- Your colors and any image assets you want to include (optional: invitation card graphic, flower design, etc.)

Step-by-Step Guide
1. Setting Up Your Composition
- Open After Effects and create a new composition (30fps is ideal).
- Add a solid background and lock the layer for easier workflow.
- Import and lock your reference envelope image if you’re using one.
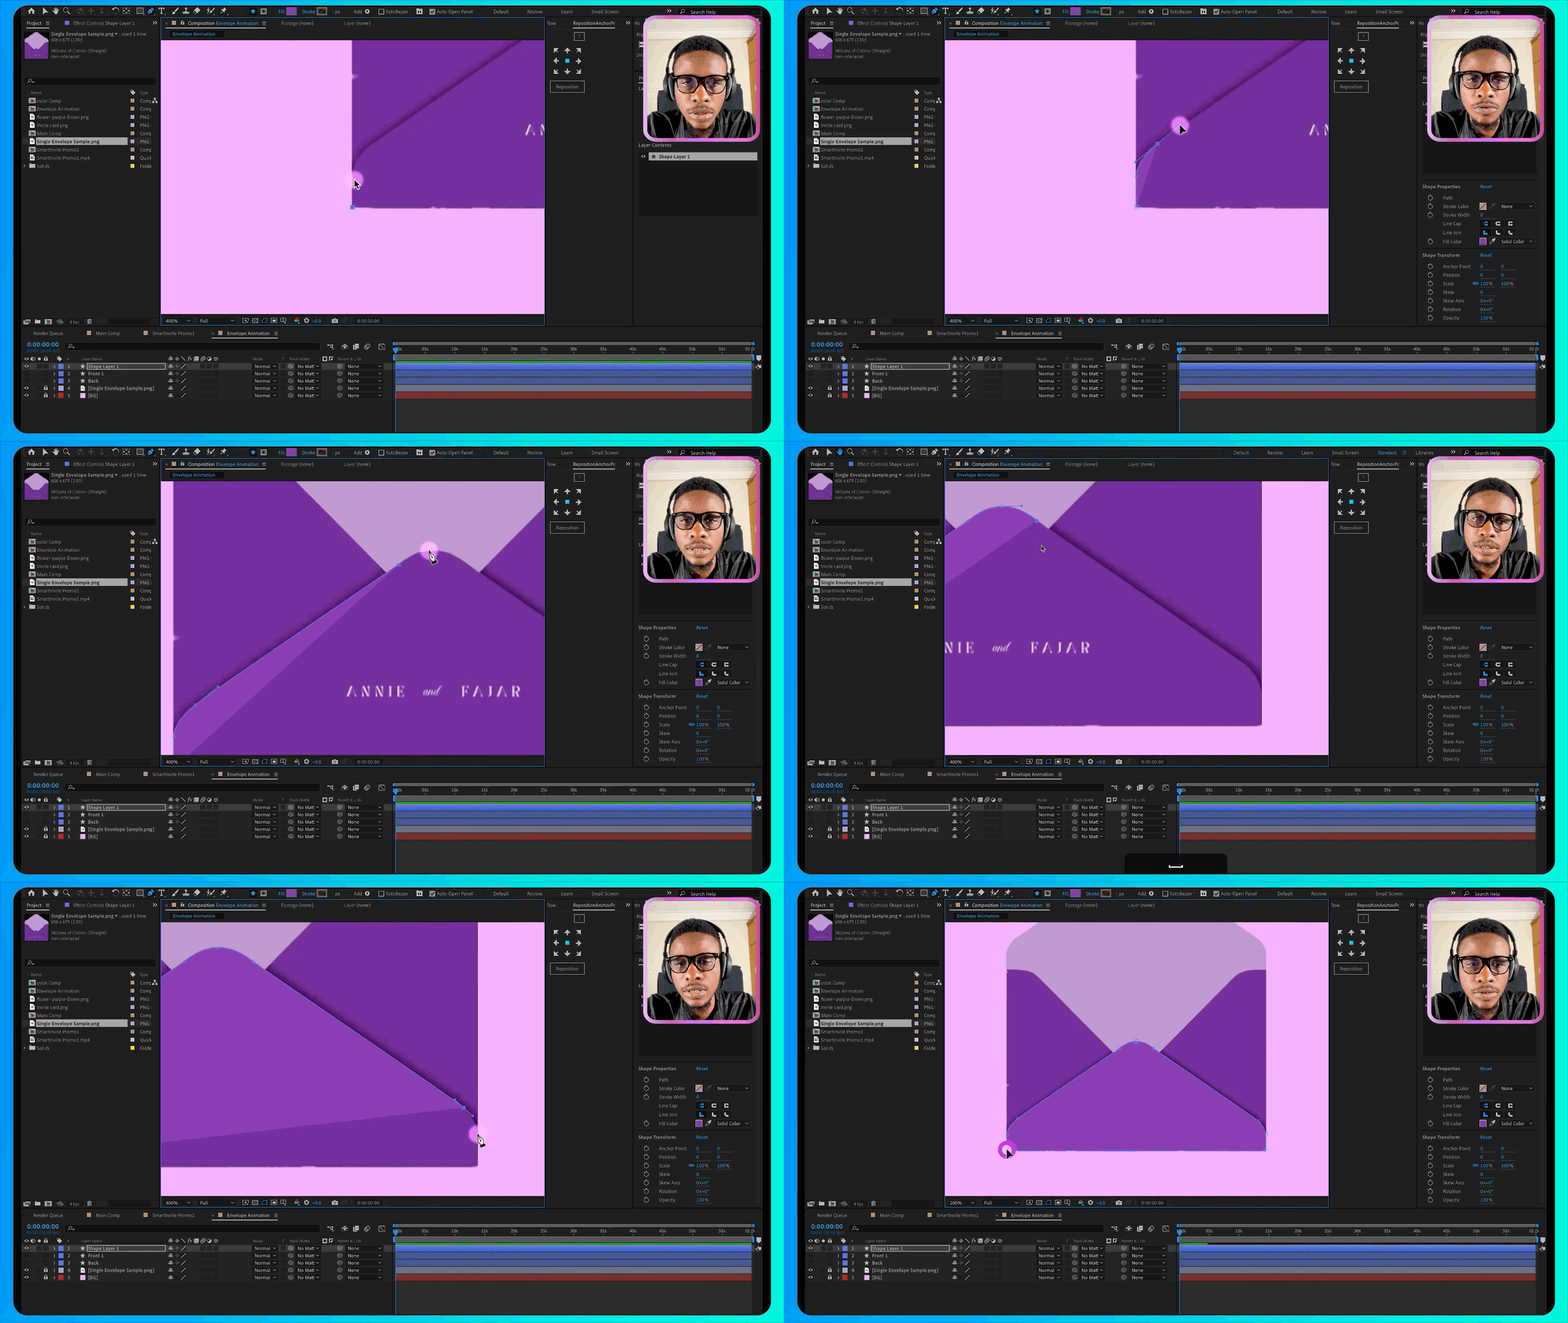
2. Drawing the Envelope Layers
- Back of Envelope:
- Select the rectangle tool.
- Draw the back shape, keeping it on its own layer. Rename it “Back”.
- Select the rectangle tool.
- Inner Envelope Parts:
- Make sure no layer is selected. Use the pen tool to trace curved sections for the inner portions.
- Repeat as needed, separating each part onto its own layer (“Front One”, “Front Two”).
- Make sure no layer is selected. Use the pen tool to trace curved sections for the inner portions.
- Envelope Cover (Flap):
- With the pen tool, shape the main flap.
- Ensure it also sits on its own layer, named “Cover”.
- With the pen tool, shape the main flap.

3. Coloring the Layers
Pick color themes that match your project. Apply unique shades for each layer:
- Back: Primary theme color
- Front: Lighter tone
- Front Two: Darker shade
- Cover: Contrasting or matching color
Split the cover later for opening/closing animation (details below).
4. Use Null Objects for Animation Control
- Create a null layer called “Envelope Control”.
- Parent all envelope layers to this control.
This keeps everything grouped for coordinated animations (move, scale, rotate, etc.).
5. Animating the Envelope
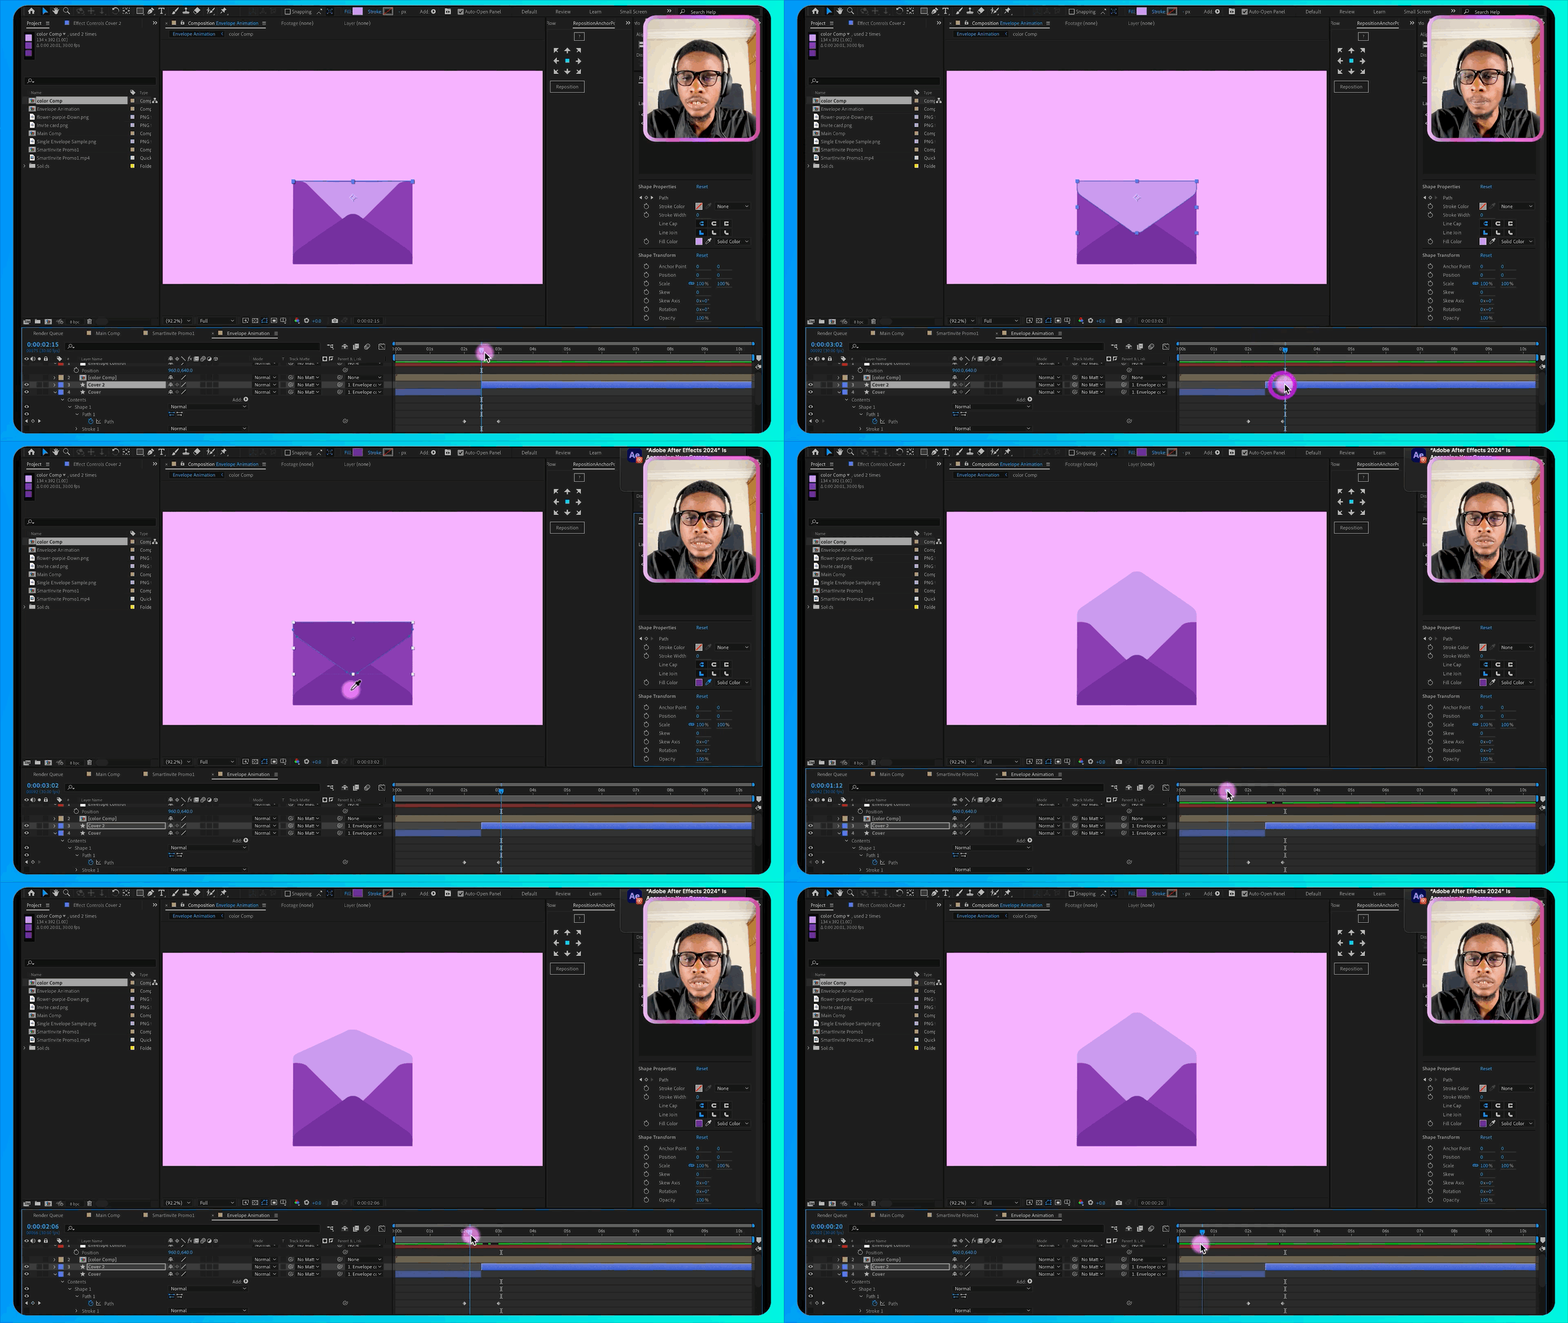
Closing Animation for Flap:
- Select the cover layer and open its “Path” property.
- Set keyframes:
- At the open state, add a keyframe.
- Move forward in your timeline (about 1sec) and add another keyframe for the closed position.
- At the open state, add a keyframe.
- For a seamless close, split the layer halfway and rename it “Cover Two” (the top flap).
- Apply a new color to the top layer for realism.

6. Adding Drop Shadows
- Add Drop Shadow (Layer Style) on “Front Two” and “Cover Two”.
- Adjust angle, size (e.g., 90°, 20px), and opacity (around 50%) for depth.
7. Insert the Invitation Card
- Import your invitation card image or graphic.
- Place and scale it between the correct envelope layers (so it looks “inside” the envelope when closed).
- Animate its position so it slides into the envelope right before closing.
8. Layer Management
- Arrange your layers:
- Back and first cover at the back.
- Invitation card in the middle.
- Second cover (flap) at the top.
- Back and first cover at the back.
This ensures the card appears tucked inside when the envelope closes.
9. Decorative Elements
- Add a touch of flair with shapes or floral designs.
- Use track mattes and parenting to “mask” designs to specific sections.
- Set blend mode to Screen and reduce opacity for subtlety.
10. Final Animation Touches
- For a smooth effect, select all your keyframes and apply Easy Ease (shortcut: F9).
- Create a second null layer called “Move All” if you wish to animate the entire envelope after the card is tucked in.
Tips for Your Projects
- Experiment with different colors for wedding, business, or themed invitations.
- Use this envelope for email notification scenes, digital invites, or animated logos.
- Save time by grouping layers and using nulls for easy edits.
Watch the Full Tutorial
For a complete walkthrough with visuals, check out the full tutorial on my YouTube channel.
Don’t forget: Like, comment, and subscribe for more After Effects and motion graphics tutorials!
Downloadable project file here

